
We are all huge fans of using trekking poles on almost any hiking, trekking or backpacking trip. They so clearly contribute to your safety (by improving your balance and stability) and health (by saving stress on your knees), plus conserve your energy by transferring some of the work to your arms and chest, that we can't imagine why anyone would choose not to use them. Yes, they may take a little getting used to and instruction is helpful when you're first starting, but that should not deter you.
But there are so many options, how do you choose the right pair?
If you're just starting out, our advice is either to purchase an inexpensive pair or borrow a pair of poles from a good friend - and then come on one of our hiking trips where you can not only learn what they are all about but the correct way to use them. You’ll also see what others have chosen and after gaining a bit of experience, you can make a more informed decision regarding the ‘perfect’ pair of poles.
If you're ready to commit to a pair, below are a few details to pay attention to. I have listed them in the order of what my experience has led me to believe are the most important. I dare say that you can find these same details on most any internet site you search regarding hiking poles although they could be listed in a different order. (But mine is the correct one!)
1. Weight
2. Pole adjustment mechanism
3. Sections
4. Material
5. Grips
6. Baskets
7. Shock Absorbers
1. Weight:
Being the lightweight backpacker I am, this has to be at the top of my list. The lighter the better! Remember, you will be picking these poles up and down hundreds (or thousands) of times during your hike/backpack and weight will be an issue.
There are several factors that influence the weight of your poles including the following:
- material they are made of
- the locking mechanisms
- whether they have ‘shocks’ on them
- if they have baskets
- what the handles are made of
Each of these details will be discussed below.
2. Pole adjustment mechanism:
There several types of locking mechanisms for pole adjustment. My favorite for many years has been the ‘twist’ type of mechanism because it was less ‘weighty’ and was quite reliable. Unfortunately most of the companies have turned to newer technology – currently I use what is called the lever locking mechanism. The types of adjustment mechanisms are:
- Lever Locking system
- DuoLock,
- Super Lock System
- Stop Lock.
All of these locking systems weigh in about the same so just make sure you understand your particular locking system and can operate it well under the conditions you will be using the poles.
3. Sections:
You can get poles that separate into either 2 or 3 sections. My preference is for a 3 section pole for hiking and backpacking which allows the poles to be more compact in it’s collapsed (or broken down) position and fits into my luggage easily for travel. The 3- section pole is what almost all hiking/trekking/backpacking poles are. A 2- section pole is a stronger pole and I would suggest this if you were using your poles for mountaineering or ski-ing where there may be more stress exerted on the poles.
4. Material:
The most common types of material for hiking poles is aluminum or carbon fiber. The lighter weight material will be carbon fiber but that will be reflected in the cost of the poles as well.
5. Grips:
This is definitely a personal issue, keeping weight in mind as the top priority. Options are:
- Rubber, which is good in situations where you don’t want your handles to absorb water such as mountaineering or winter sports --- it also insulates the hands from cold. Rubber is not generally recommended for warm weather hiking simply because rubber can be more abrasive to bare skin (when used for cold weather activities you are usually wearing gloves)
- Cork, which ends up ‘molding’ to the shape of your hand/grip. Cork tends to not absorb moisture which can result in slippery handles if you have particularly sweaty hands.
- Foam, which is softer and many hikers/backpackers feel keep your hands cooler. Foam does absorb moisture but does not become ‘sodden’ or misshapen with just hand moisture.
6. Height:
- Make sure that the poles you purchase are for your height --- yes, some of them come in regular and tall, plus some have weight recommendations.
- If purchasing one of the newer (and extremely lightweight) Z-type poles please make sure you understand their limits. Many of these poles DO NOT extend for downhill hiking. My personal opinion is that my knees really do want the extra support for those downhills so I would not choose this type of pole.
- If the brand you are considering has a ‘woman’s pole’ do check this out. These poles are often shorter (decreases the weight) and have smaller hand grips (comfort)
7. Wrist straps: Using your poles correctly is very important and having wrist straps that are adjustable are fundamental in learning to and using your poles correctly.
- Make sure that the wrist straps are adjustable and that you understand how to make those adjustments
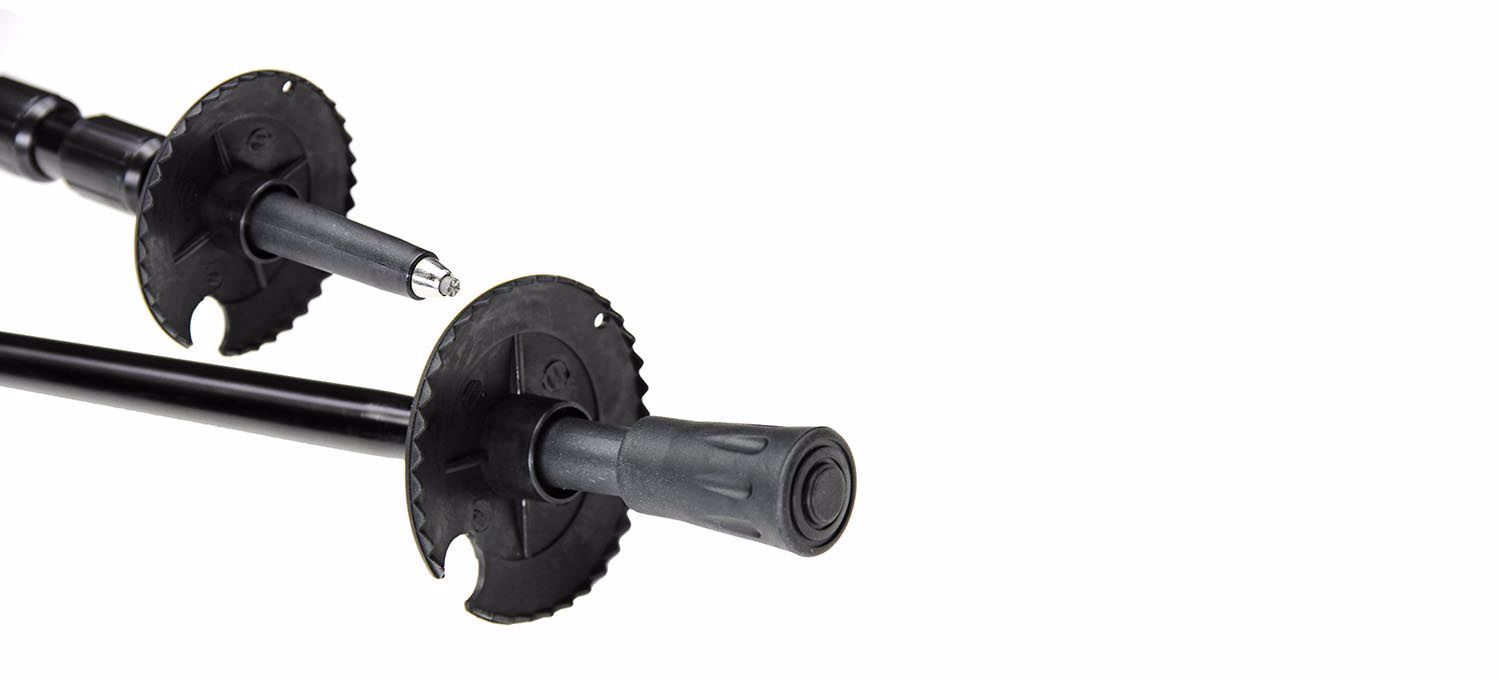
8. Baskets:
My suggestion for hiking/trekking/backpacking is no baskets unless you are planning on doing your trip in the snow. If your poles come with baskets they can be easily removed and saved for a trip you may need them for.
9. Shock Absorbers:
This particular detail can be a bit more controversial. They do definitely add to the weight of the poles and the vast majority of hikers/backpackers feel that the shocks do not make a difference in comfort. In fact, poles with shock absorber can actually create a feeling of instability due to the movement of the poles and especially create that feeling in situations where you need to have good balance (rock hopping, narrow ledges, crossing streams, etc.) My personal opinion is that they are un-necessary weight and that the small amount of give in the poles is not sufficient to make a difference in comfort. So --- I do ‘nix’ shock absorbers.
10. Use: What will you be using your poles for? Will they be multi-use poles for both hiking and snowshoeing for instance or are they just for hiking/trekking/backpacking. Personally I have different poles for different uses but often you can get away with using the same poles for multi activities.
My personal preference for poles currently is the Komperdell C3 Carbon Powerlock. These poles fit my basic criteria, lightweight, reliable locking mechanism, good grip and collapses/separates into a size that fits into my luggage.
